What is Wheel Offset and Backspacing? (A Beginner’s Guide to Perfect Fitment)
Upgrading your vehicle's wheels is one of the most rewarding modifications you can make. Beyond the immediate aesthetic transformation, aftermarket wheels —especially custom precision CNC machined wheels— can dramatically alter your vehicle's handling characteristics, track width, and stance. However, ordering a set of custom wheels isn't as simple as choosing a design and diameter. To prevent costly clearance issues, rubbing, or compromised suspension components, you must master two foundational measurements.
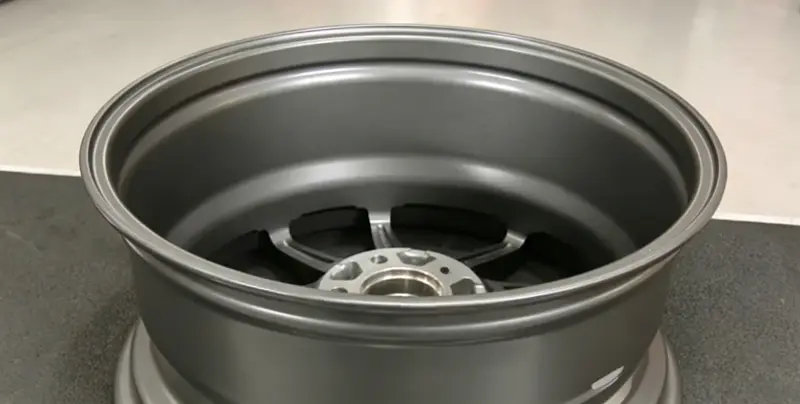
Wheel offset is defined as the distance (measured in millimeters) from the wheel's mounting hub center to its physical centerline [0, 1]. Backspacing is the distance (measured in inches) from the back of the wheel’s mounting pad to the innermost edge of the wheel flange [0, 1]. Together, these measurements determine how far a wheel tucks into the chassis or pushes out toward the street.
Wheel Offset Explained
To visualize how this works, imagine looking down at a wheel sliced vertically in half from top to bottom. The centerline is the exact middle of the wheel's width. The hub mounting pad is the flat inner metal surface of the wheel that bolts directly onto your vehicle’s brake rotor or drum.
The relationship between this mounting pad and the physical centerline determines whether the offset is positive, negative, or zero [0, 1]. In this section, we have the three types of wheel offset explained in detail:
1. Positive Offset (+)
Positive offset occurs when the hub mounting surface is positioned toward the front (street side) of the wheel's centerline [0, 1]. This design pulls the wheel inward toward the suspension [0, 1]. Most modern front-wheel-drive, all-wheel-drive, and modern rear-wheel-drive cars utilize a highly positive offset from the factory to maximize cabin space and optimize steering geometry [0].
2. Zero Offset (0)
Zero offset is straightforward: the hub mounting surface aligns exactly with the wheel’s physical centerline [0, 1]. This places the mounting face right in the middle, balancing the weight of the wheel evenly over the hub [0]. Classic muscle cars and older rear-wheel-drive vehicles frequently rely on zero-offset wheels to clear deep wheel wells.
3. Negative Offset (-)
Negative offset occurs when the hub mounting surface is positioned toward the rear (brakes/suspension side) of the wheel's centerline [0, 1]. This pushes the wheel outward away from the chassis, creating a deep-dish, concave, or deep-lip look [0, 1]. Negative offset is highly common on lifted trucks, off-road rigs, and aggressive widebody drift cars [0].
Summary of Offset Types and Their Effects
To help you decide which configuration works best for your build, consult this engineering breakdown of how positive, zero, and negative offsets affect your vehicle's clearance:
| Offset Type | Description | Visual Effect | Fender Clearance | Suspension/Brake Clearance |
|---|---|---|---|---|
| Positive Offset (+) | Mounting surface is closer to the front face of the wheel. | Sits tucked deep inside the wheel well; flat or slightly convex face [0, 1]. | Maximum. Reduces the risk of tires rubbing on the outer fender arches. | Minimum. Sits closer to internal struts, coilovers, tie rods, and brake calipers [0]. |
| Zero Offset (0) | Mounting surface is aligned exactly with the wheel's physical centerline [0, 1]. | Neutral stance; wheel sits balanced relative to the hub [0]. | Moderate. Balanced clearance for standard factory wheel arches. | Standard. Generally safe for factory suspension configurations. |
| Negative Offset (-) | Mounting surface is closer to the back (brakes side) of the wheel [0, 1]. | Sits pushed outward; deep-lip, concave, or wide stance [0, 1]. | Minimum. High risk of tires contacting or rubbing against the outer fender lips. | Maximum. Pushes the wheel away from internal suspension struts and brakes [0]. |
Backspacing vs. Offset
Understanding the relationship of backspacing vs offset is one of the most common challenges in the automotive aftermarket. Although both specifications measure the lateral position of the wheel inside the wheel well, they use different reference points, units of measurement, and target objectives.
Offset is always measured in millimeters and relates strictly to the wheel's centerline [0, 1]. This makes it highly useful for maintaining steering alignment and suspension dynamics. Backspacing, on the other hand, is measured in inches and looks at absolute physical depth [0, 1]. It measures from the very back edge of the wheel flange (including the lip) to the mounting pad [0, 1].
Because backspacing is measured to the outer lip edge, it is directly influenced by the wheel's total width [0, 1]. If you increase a wheel's width, the backspacing will change even if the offset remains the same [0]. This is because a wheel's advertised width (e.g., a 9-inch wide wheel) actually measures roughly 10 inches wide from flange to flange due to the extra half-inch lip on each side.
Converting Offset to Backspacing
If you know your wheel's width and offset, you can calculate the approximate backspacing using this standard engineering formula:
For example, if you have an 8-inch wide wheel with a +12.7 mm offset:
- Add 1 inch to the width (9 inches).
- Divide by 2 to find the physical center (4.5 inches).
- Convert the +12.7 mm offset to inches (12.7 / 25.4 = 0.5 inches).
- Add the two values: 4.5 + 0.5 = 5.0 inches of backspacing.
Beyond Offset: How to Measure Bolt Pattern
Even if you select the correct offset and backspacing, aftermarket wheels will not mount onto your car if the bolt pattern is incorrect. Before consulting any fitment guide, you must identify your vehicle's pitch circle diameter (PCD).
Learning how to measure bolt pattern is a simple but critical skill. A bolt pattern consists of two numbers: the number of lug holes and the diameter of the circle they form (e.g., 5x114.3 or 5x4.5). Measuring varies depending on the number of lugs:
- For 4-lug, 6-lug, and 8-lug wheels: Measure from the center of one lug hole directly across the hub to the center of the opposite lug hole.
- For 5-lug wheels: Because the holes do not sit directly opposite each other, measure from the back edge of one lug hole to the center of the second hole directly across from it. Alternatively, you can measure from the center of one hole to the center of the adjacent hole and multiply that distance by 1.7012. Using a dedicated bolt pattern gauge is highly recommended for accuracy.
The Perfect Wheel Fitment Guide
Achieving the ideal stance—whether you want a "flush" fitment where the sidewall aligns cleanly with the fender, a "tucked" look, or an aggressive off-road poke—requires a systematic approach. Follow this step-by-step perfect wheel fitment guide to map out your vehicle's physical limits:
Step 1: Document Your Factory Specifications
Before shopping, look up your OEM wheel width, diameter, and offset. This information is typically stamped on the back of the wheel spokes or inside the driver's side door jamb.
Step 2: Measure Outer Fender Clearance
With your vehicle on the ground at normal ride height, hang a plumb bob or a weighted string from the inside edge of your outer fender down past the tire. Use a ruler to measure the distance from the tire's outer sidewall to the string. This tells you exactly how many millimeters of outward room you have to play with before your tires will poke past the fender.
Step 3: Measure Inner Suspension Clearance
Next, safely raise the vehicle on a lift or jack stands. Locate the tightest bottleneck between the inner wheel lip (or tire sidewall) and the nearest suspension component, such as the strut tower, tie rod, or sway bar. This measurement determines your absolute limit for increasing backspacing.
Step 4: Calculate the Offset Differential
When upgrading to wider wheels, you must balance the width and offset. For example, if you move from an 8-inch wheel with a +40 mm offset to a 9-inch wheel with the same +40 mm offset, the wheel will extend 12.7 mm further outward toward the fender and 12.7 mm further inward toward the suspension. If you don't have that 12.7 mm of inner clearance, you must lower your offset (to +30 mm, for example) to push the entire wheel assembly back outward.
Step 5: Factor in Brake Caliper Clearance
Offset alone does not guarantee a wheel will clear your brakes. Spoke curvature and design (often referred to as the wheel's "X-factor") play a massive role. If your vehicle features multi-piston performance brake calipers, ensure the wheel manufacturer explicitly lists clearance for your specific braking system.
Handling and Steering Implications
Altering your wheel geometry has physical consequences beyond simple aesthetics. Modifying the offset directly changes your vehicle's scrub radius—the distance between the steering axis centerline and the center of the tire's contact patch.
- Excessive Negative Offset: Pushing the wheels too far outward increases the leverage placed on your wheel bearings, ball joints, and tie rods, accelerating wear. It can also cause heavy steering, steering wheel feedback, and "tramlining" (where the car follows ruts in the road).
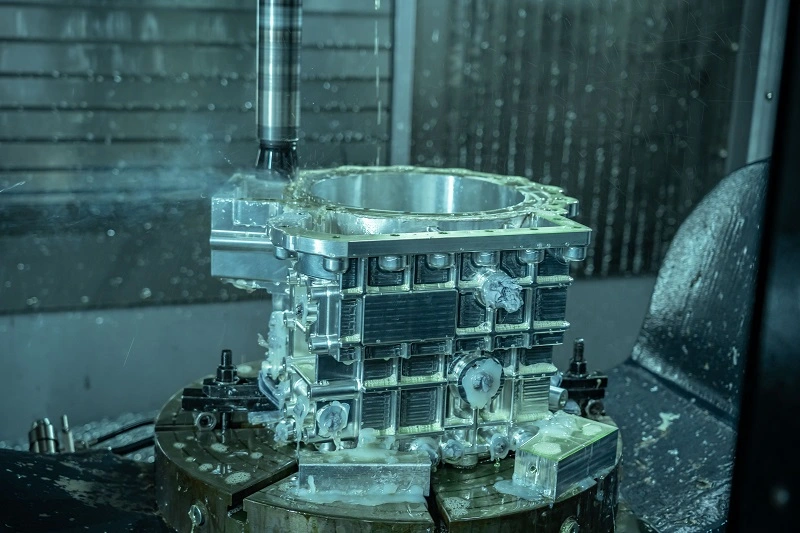
- Excessive Positive Offset: Tucking the wheels too far inward can cause the tire sidewall to rub against the coil springs, struts, or inner fender liners during sharp turns. This reduces your maximum steering angle and risks tire blowouts. Advanced manufacturing methods such as custom CNC machining allow engineers and designers to sculpt custom wheel structures with absolute accuracy, minimizing scrub radius deviation even with wide wheel configurations.
Frequently Asked Questions
Can I use wheel spacers to correct an offset that is too positive?
Yes. If your new wheels have an offset that is too high (positive), they will sit too far inward and potentially rub against your suspension. Installing a wheel spacer effectively lowers the offset, pushing the wheel outward. However, spacers must be hub-centric to prevent vibration, and you must ensure you have sufficient thread engagement on your wheel studs or upgrade to longer studs.
What is the difference between hub-centric and lug-centric wheels?
Hub-centric wheels are designed with a center bore that matches your vehicle's hub snout perfectly, ensuring the vehicle's weight is supported by the hub snout rather than the wheel studs. Lug-centric wheels rely solely on the tapered lug nuts to center the wheel. Most aftermarket wheels have larger center bores to fit various vehicles and require hub-centric rings to adapt them safely to your specific car.
How does changing my wheel offset affect my speedometer?
Wheel offset itself does not alter your speedometer or odometer, as those instruments calculate speed based on tire rotation. However, if your new offset forces you to change to a tire with a different overall diameter (rolling height) to avoid rubbing, your speedometer readings will change. Always try to keep your total tire diameter within 3% of the factory specifications to maintain accurate speed readings.
Key Takeaways
- Choose the manufacturing process based on tolerance, material, load, surface finish and validation stage.
- For automotive prototypes, CNC machining is usually preferred when precision, repeatability and real engineering materials matter.
- A reliable supplier should support DFM review, inspection reporting, finishing, small-batch production and fast quoting.